Media library
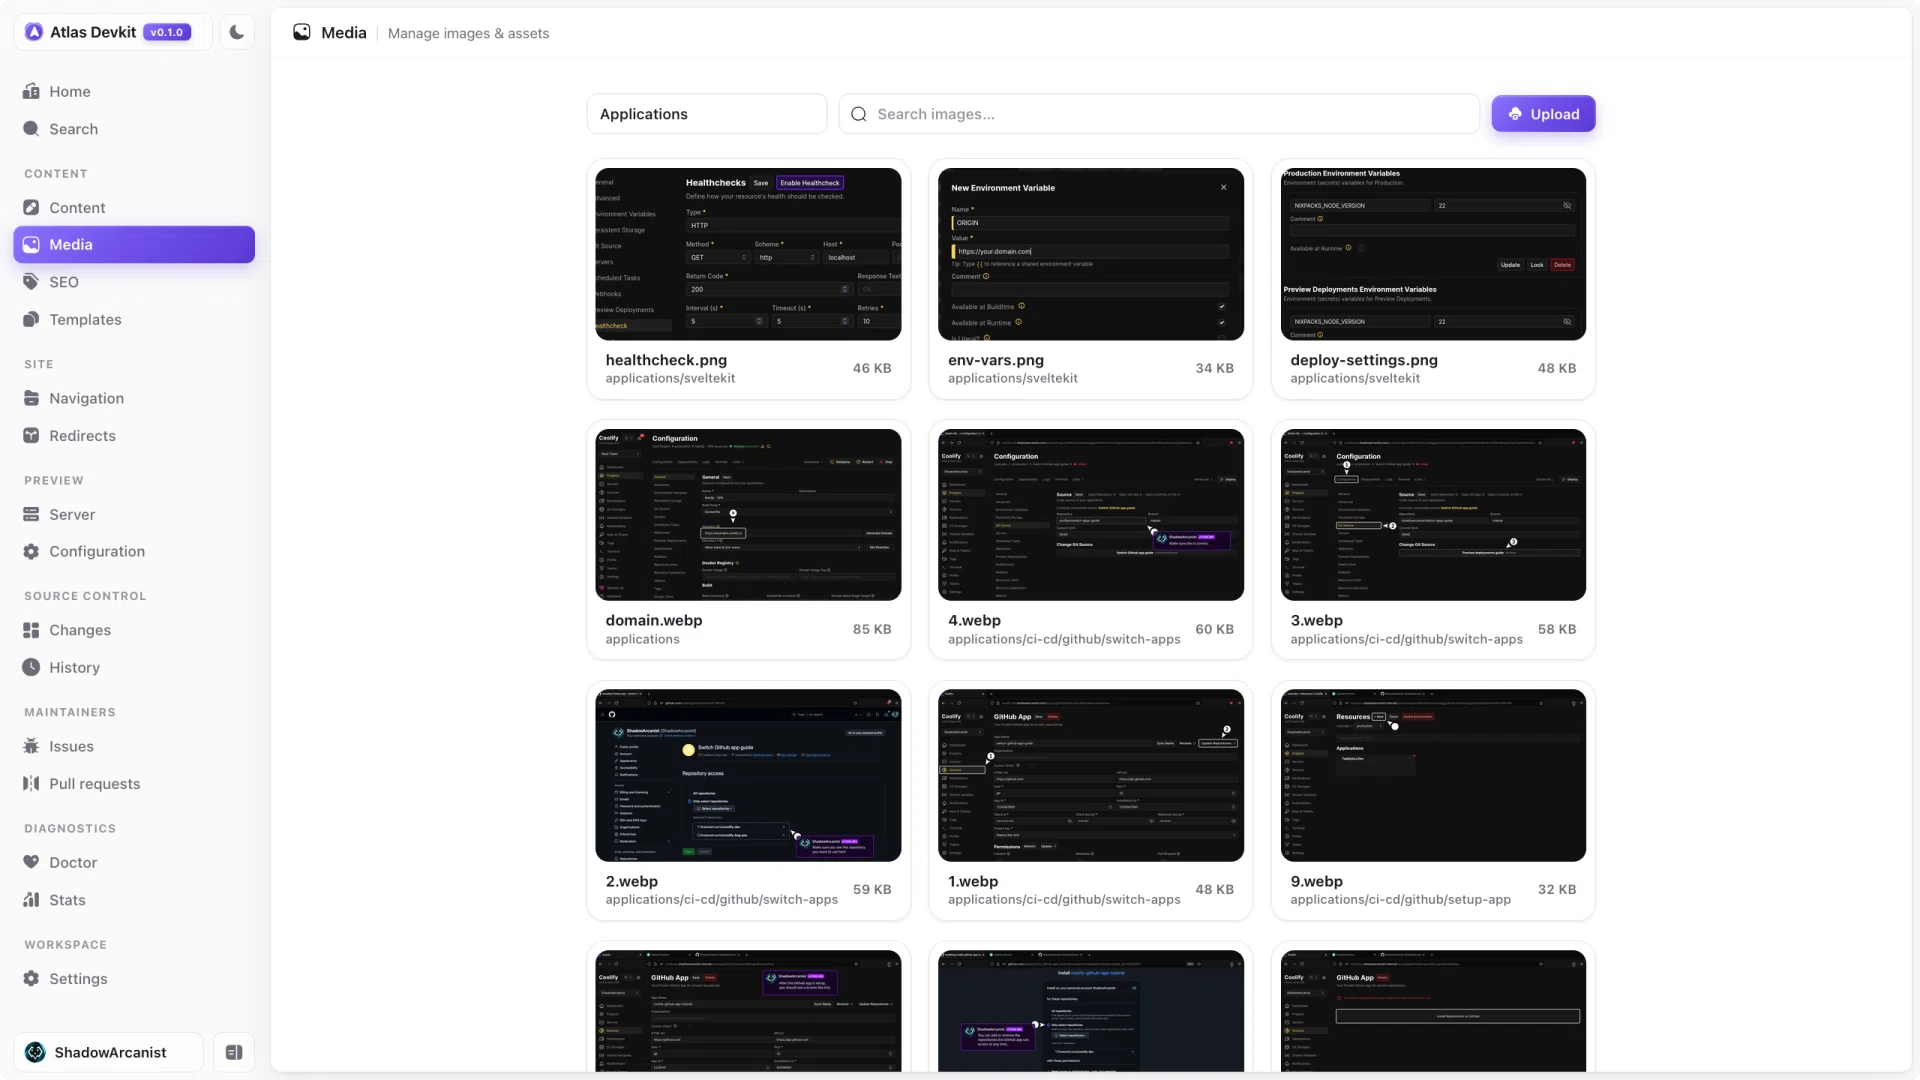
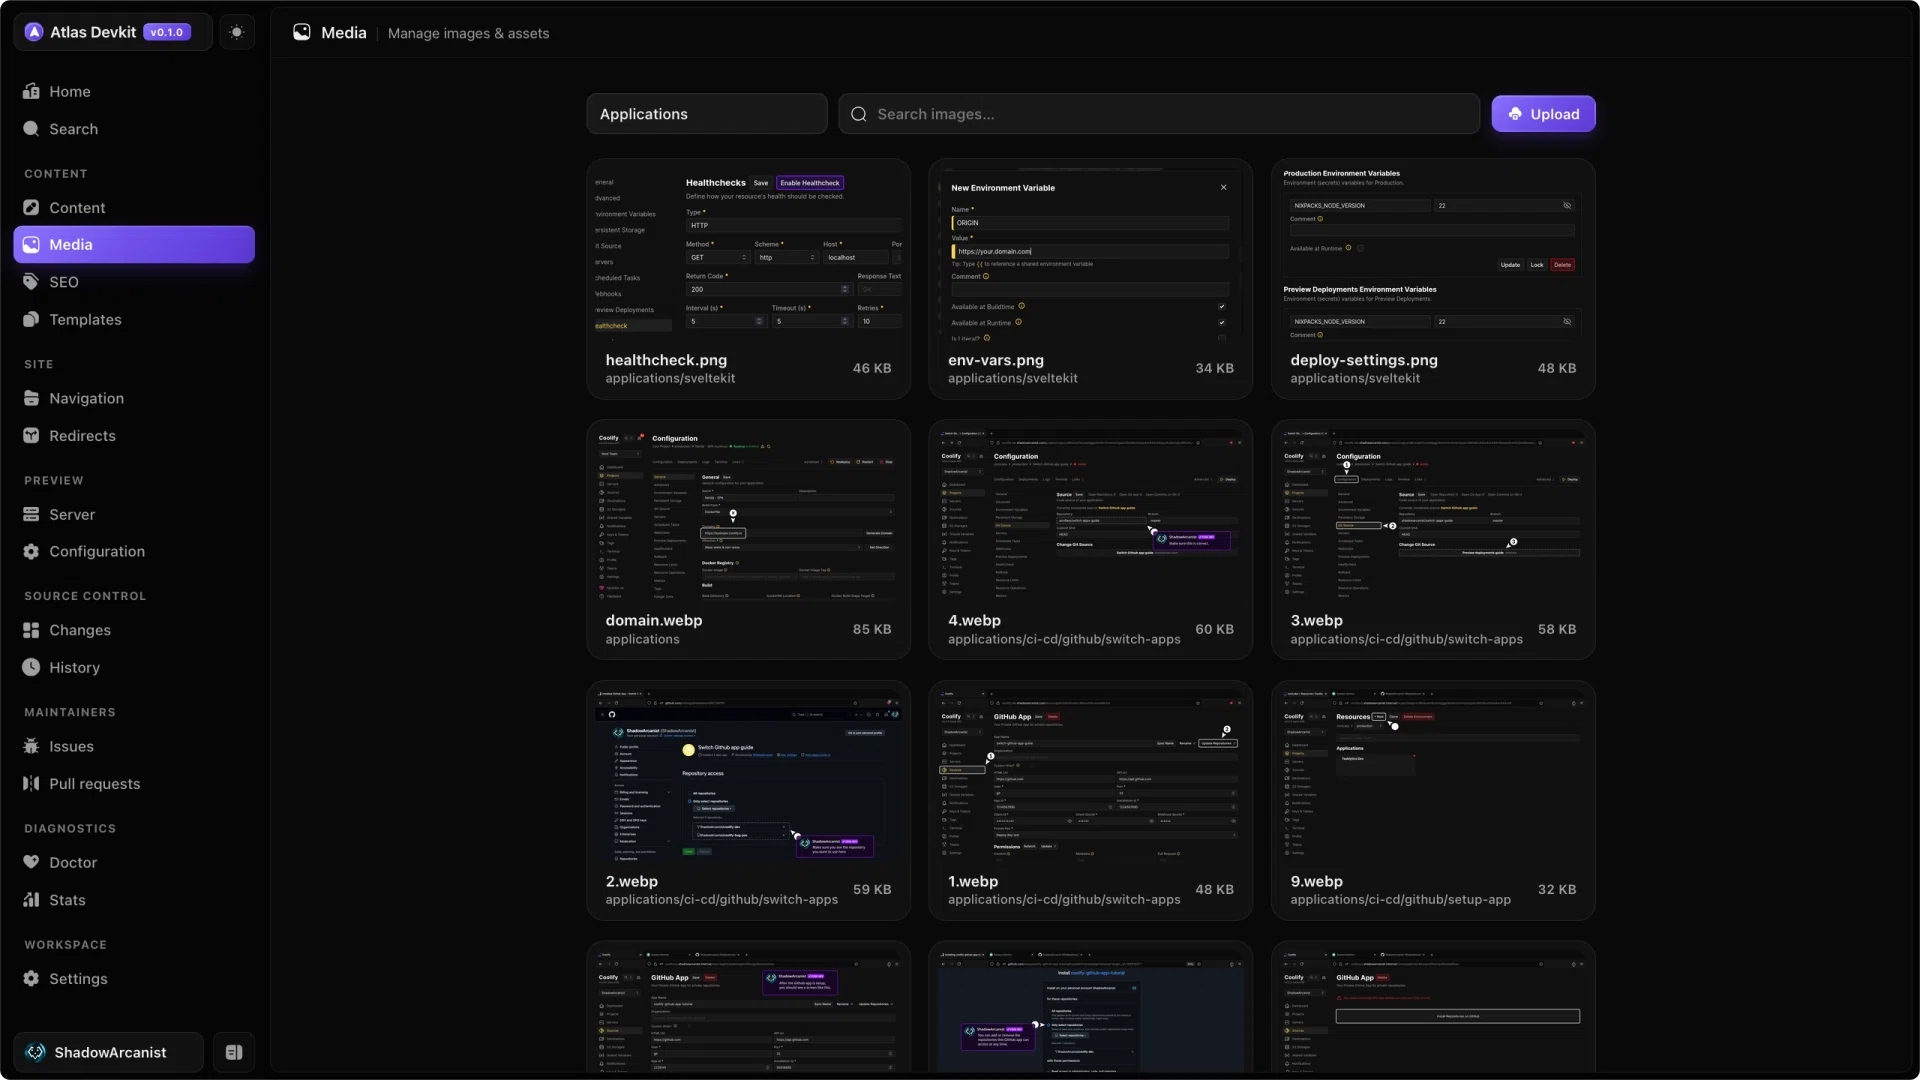
The media library is where your images live. You can drag files in, convert them to WebP automatically, and drop them into the right folder, all without leaving Atlas.
Uploading an image
You can upload from two places:
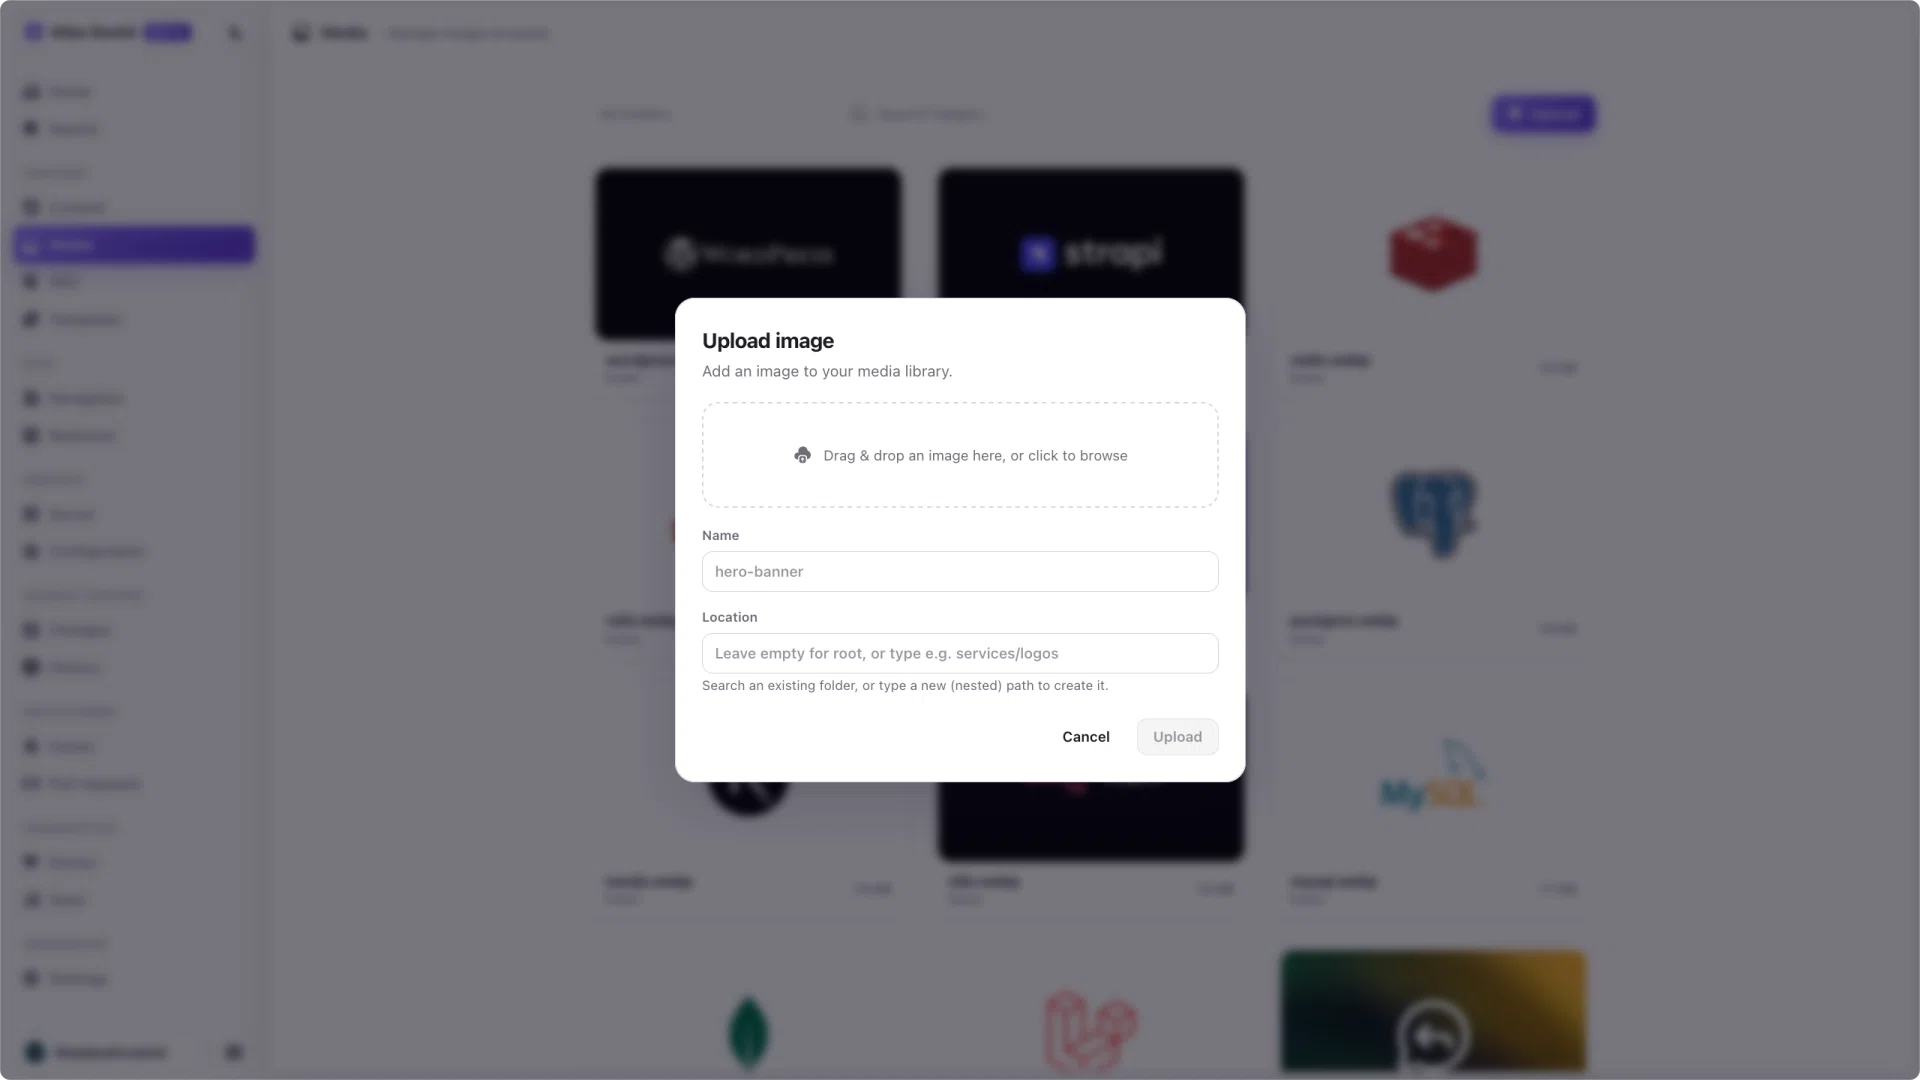
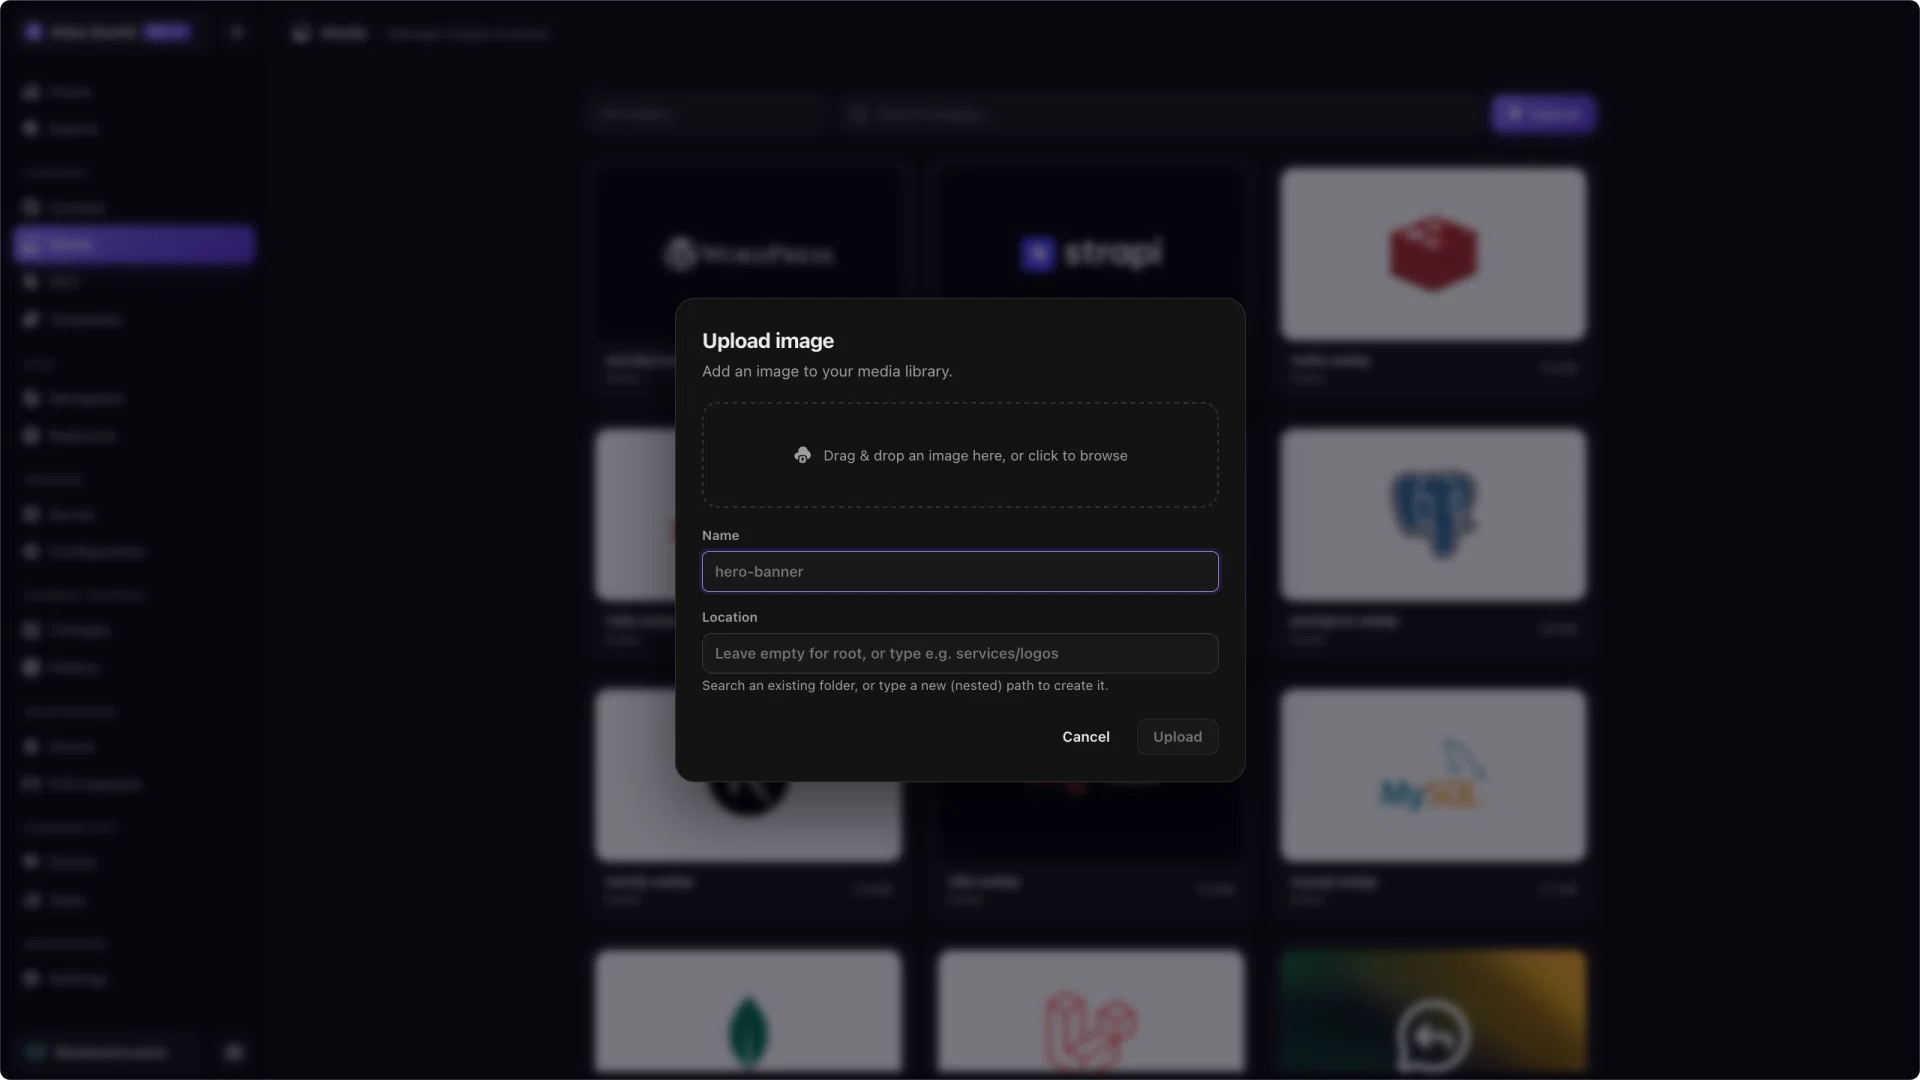
- From the media library, drag a file in or click to browse.
- From the editor, upload an image and Atlas inserts the Markdown at your cursor.
Either way, the file is saved into your mediaDir and is ready to use right away.
Automatic WebP conversion
When you upload a PNG or JPEG, Atlas can convert it to WebP for you, which keeps your docs light. You choose the quality, and 90% is a good default that is hard to tell apart from the original.
The conversion happens in your browser before the file is saved, so you do not need any extra tools installed.
Folders
Images can be organized into folders, and the upload dialog lets you pick one. Start typing to filter your existing folders, or type a brand-new path like services/logos to create it on the spot.
Leave the folder empty to save into the root of your mediaDir. Atlas creates nested folders as needed, so you never have to make them by hand first.
Finding and reusing images
The library shows every image with its folder, and you can search by name to narrow it down.
Click an image to open a full preview with its details beside it. From there, hit Copy as component to copy the image as a ready-to-paste component, then drop it into any page. You can also delete the image from the same preview.