Quick start
Once Atlas ships in the Coolify docs repo, there is nothing to install or configure by hand: you install the project's dependencies, run one command, and the dashboard opens in your browser.
Atlas is not in the Coolify docs source yet. The docs are being restructured, so Atlas currently lives on a feature branch of the Coolify docs repo and will be merged into the next branch soon (on the docs repo, next is the development branch). For now, follow the installation guide to set Atlas up on your own fork of the docs repo.
Before you start
You will need:
- Bun installed, since Atlas runs on Bun.
- A local clone of the Coolify docs repo.
- Git available on your machine, which Atlas uses for commits, history, and branches.
Atlas runs entirely on your machine. There are no accounts and no cloud, so nothing leaves your laptop.
Run Atlas
From the root of the docs repo, install the dependencies and start Atlas:
bun install && bun run dev:atlasThen open http://localhost:4444 in your browser.
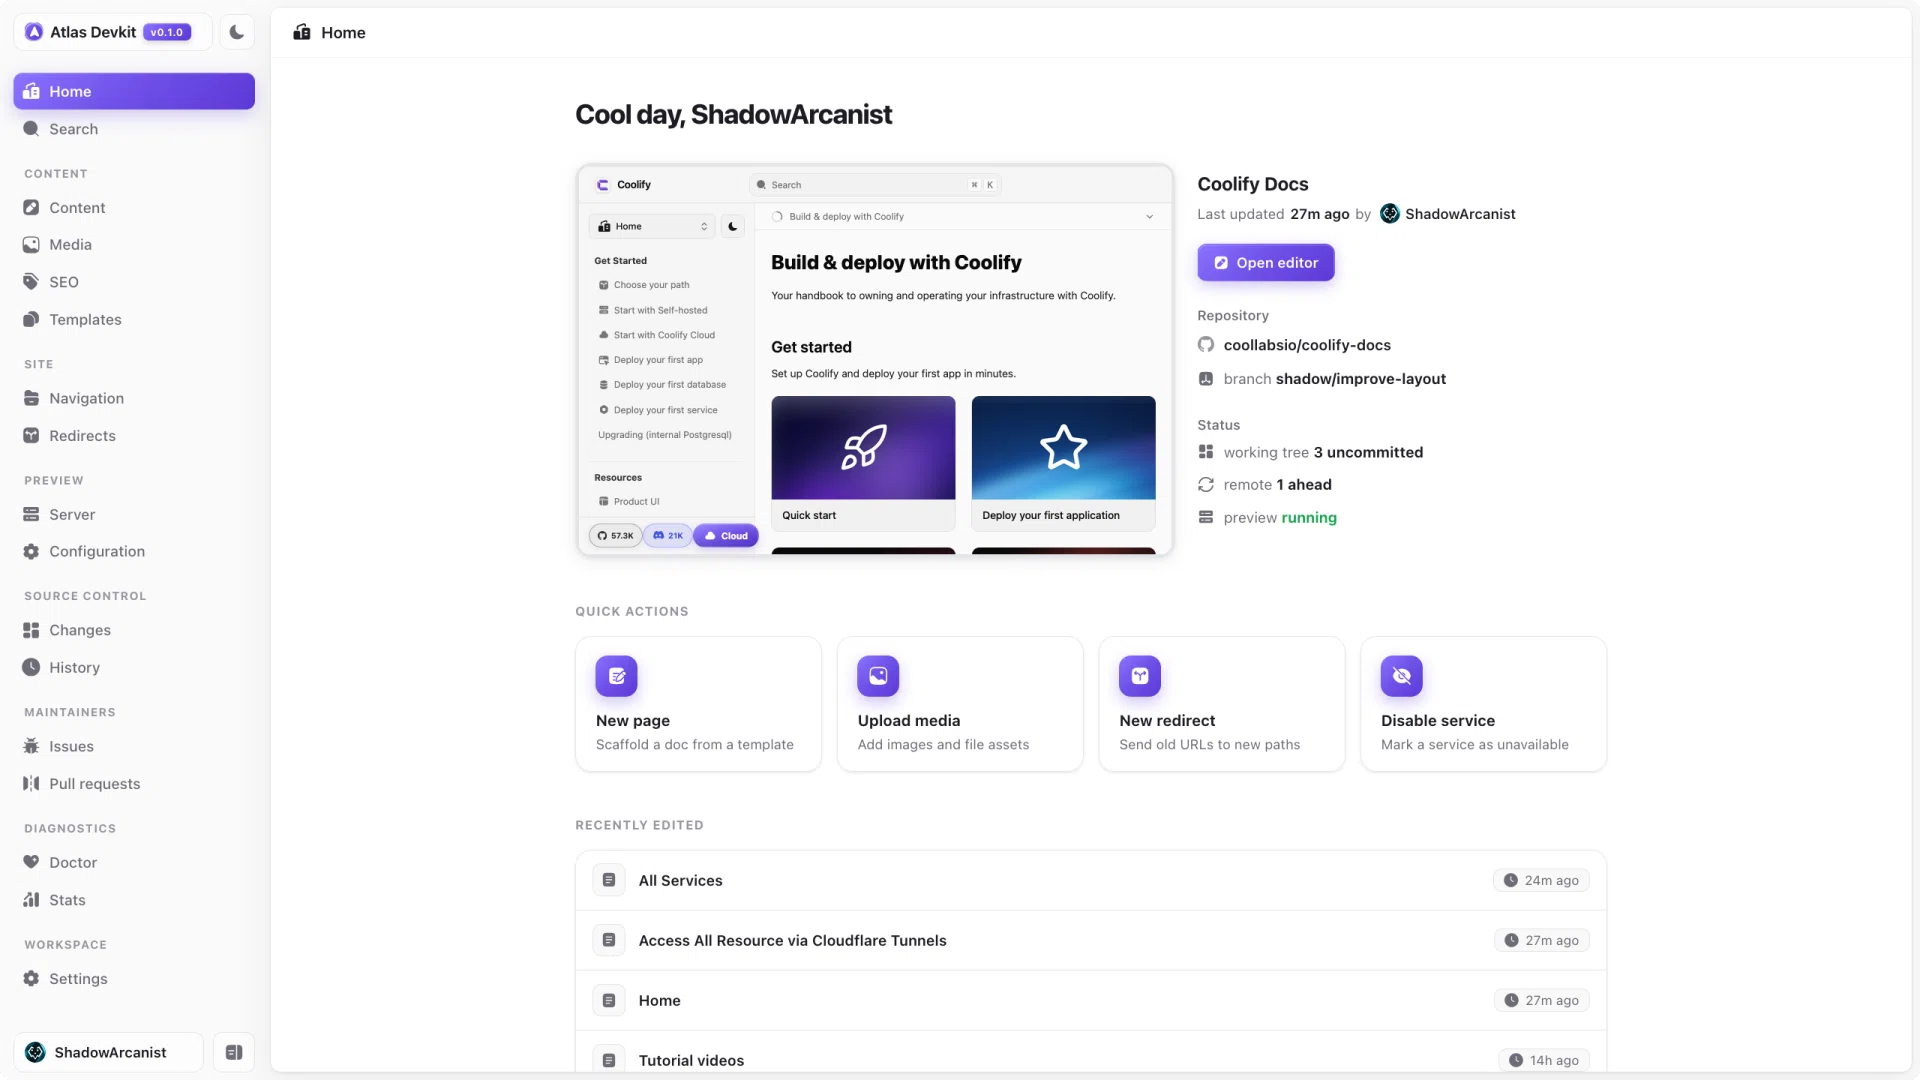
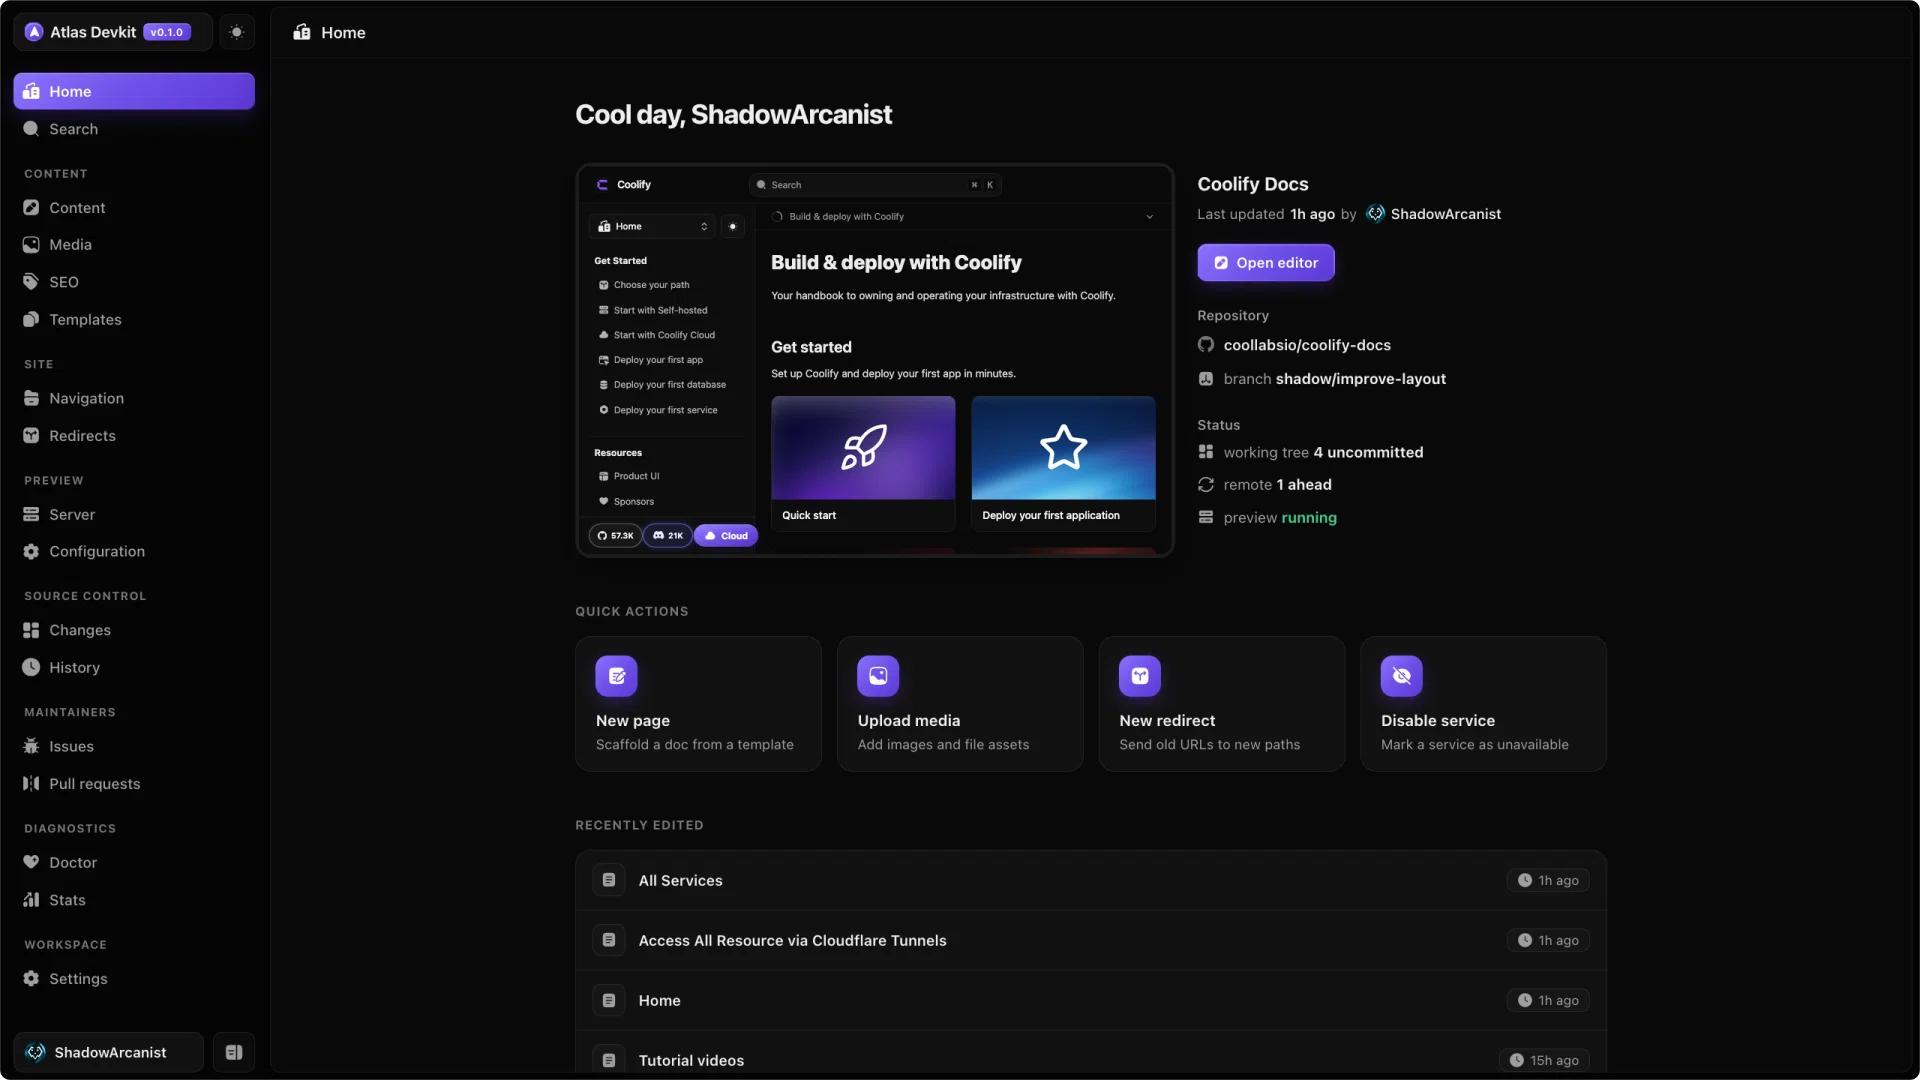
That is all you need. From here you can open the editor, manage media, and ship changes with Git.